

Upcycling Old Wooden Crates into Stylish Home Storage
Why Crates Earn Their Keep in Small Homes
A sturdy wooden crate is one of the most forgiving pieces of furniture you can own. It is already square, already strong, and already sized to fit the sorts of awkward gaps that plague British homes: the alcove beside the chimney breast, the 40cm slot under the stairs, the narrow strip at the end of a galley kitchen. Stack two or three and you have shelving; screw castors on and you have a trolley; hang one on a wall and you have a display shelf that costs almost nothing.
The best crates are the slatted softwood or plywood types used for fruit, vegetables and bottles. Look for solid slats, straight edges and no signs of rot, damp staining or woodworm. Give each one a knock — a dull, dead thud usually means water damage. If you plan to use a crate for growing herbs or storing food, check for an HT (heat-treated) stamp rather than MB (methyl bromide), and avoid any timber with an unknown treatment history.
Preparing the Wood Properly
This is the stage most people rush, and it is the one that decides whether your finished crate looks charming or careless. Set aside twenty minutes per crate and work through the following:
- Pull out staples, tacks and bent nails with pincers. Hammer any stubborn nail heads below the surface with a nail punch.
- Sand every surface with 80- or 120-grit paper, then finish with 180-grit. Pay attention to the top edges and the finger slots, where splinters live.
- Fill splits and old staple holes with a fine wood filler, let it dry, then sand flush.
- Wipe the whole crate down with a damp cloth to lift dust. Let it dry thoroughly in a warm room.
- Wear gloves and eye protection when stripping metal, and a dust mask when sanding — old crates can be gritty.
If the crate is going to hold loose items, a piece of 12mm plywood cut to fit the base adds rigidity and stops small objects slipping between the slats.
Painting for a Low-Sheen, Hard-Wearing Finish
Gloss looks wrong on rustic timber, and it shows every imperfection. An eggshell or satinwood in a water-based formula gives a soft, wipeable finish that suits hallways, kitchens and bathrooms. If the wood has visible knots, brush on a knotting solution first, or the resin will bleed through and stain your paint within weeks.
Apply two or three thin coats with a small foam roller for the flat faces and a brush for the slats. Lightly sand between coats with 240-grit paper and wipe away the dust. Pale greys, soft sage and off-white work beautifully in compact rooms because they bounce light around; deeper colours such as navy or forest green are better for a single statement crate. Leave the paint to cure for at least 24 hours before loading it up — and always fit castors and brackets after painting, not before.
Castors, Stacking and the Mobile Trolley
A mobile crate trolley is the single most useful thing you can build for a small home. Four castors with a plate fitting are simplest: bolt them through the base with M6 bolts, penny washers and nyloc nuts for a fixing that will not work loose. As a rough guide, choose castors rated at least five times the weight you expect to carry, and fit two braked swivel castors so the trolley stays put when you want it to.
When stacking crates, add an L-bracket or corner brace at each joint to stop the tower racking sideways. Stacked crates holding books or tools can be surprisingly heavy, so keep the tallest piles to two or three and push them against a wall.
Wall Brackets and Floating Crate Shelves
Wall-mounted crates free up floor space, which matters enormously in a compact garden room or narrow hallway. Fix into timber studs wherever possible, or use proper masonry fixings for brick and block. The neatest method is a French cleat: a strip of 18mm plywood screwed to the wall and a matching strip screwed to the back of the crate, so the crate simply lifts on and sits flush.
As a sensible limit, treat each crate as carrying no more than 10–15kg, and keep the heaviest items on the lowest shelf. In bathrooms, line the crate with oilcloth before adding towels; in kitchens, a food-safe wipe-down finish is worth the extra coat.
Clever Uses Indoors and Out
Hallways take a low crate for shoes and a wall-hung one for keys, leads and bags. Bathrooms suit a tall stack for rolled towels and toiletries. Children's rooms benefit from a castored crate for toys, at a height they can reach and push themselves.
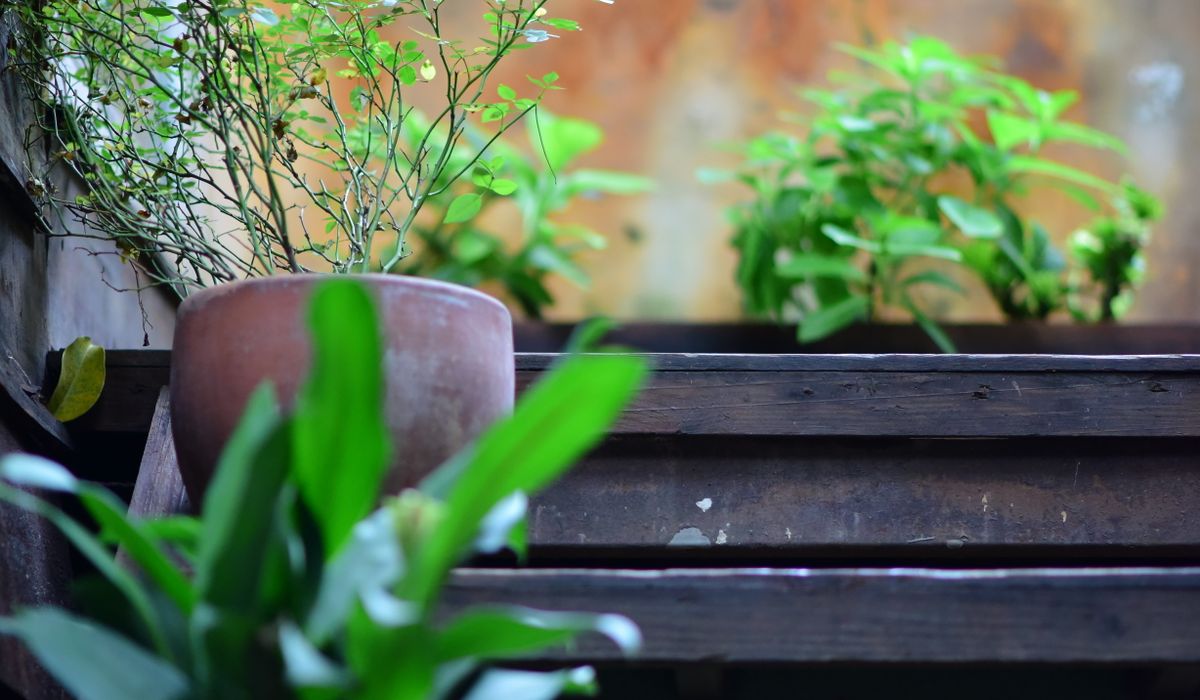
Outdoors, crates come into their own. Line one with hessian and fill it with compost for herbs, cut-and-come-again salad or strawberry plants. A pair of crates with a cushion on top makes a movable balcony bench, and a stack against a shed wall keeps tools, pots and netting tidy. Finish garden crates with an exterior wood stain or matt varnish, drill a few drainage holes in the base, and sit them on pot feet or bricks so the timber never stands in standing water. Done well, they will last for years — and no two will look quite the same.


Decluttering
-
Swap cushion covers, layer soft throws, and rotate lighting to refresh a compact lounge without buying bulky new furniture.


Small Gardens




-

Long established fact that a reader will be distracted
-

Long established fact that a reader will be distracted
-

Long established fact that a reader will be distracted


Storage Ideas
Karla Gleichauf
12 May 2017 at 05:28 pm
On the other hand, we denounce with righteous indignation and dislike men who are so beguiled and demoralized by the charms of pleasure of the moment
M Shyamalan
12 May 2017 at 05:28 pm
On the other hand, we denounce with righteous indignation and dislike men who are so beguiled and demoralized by the charms of pleasure of the moment
Liz Montano
12 May 2017 at 05:28 pm
On the other hand, we denounce with righteous indignation and dislike men who are so beguiled and demoralized by the charms of pleasure of the moment